Improving HDD Cooling
Mar 01, 2026
Revised Mar 01, 2026
A collection of instructions for improving the cooling on various hardware. I tend to use Noctua fans, as they work well for reducing temperatures while remaining fairly quite. My home server is in a closet next to my kitchen / living room, so reducing both the temperature and noise is crucial.
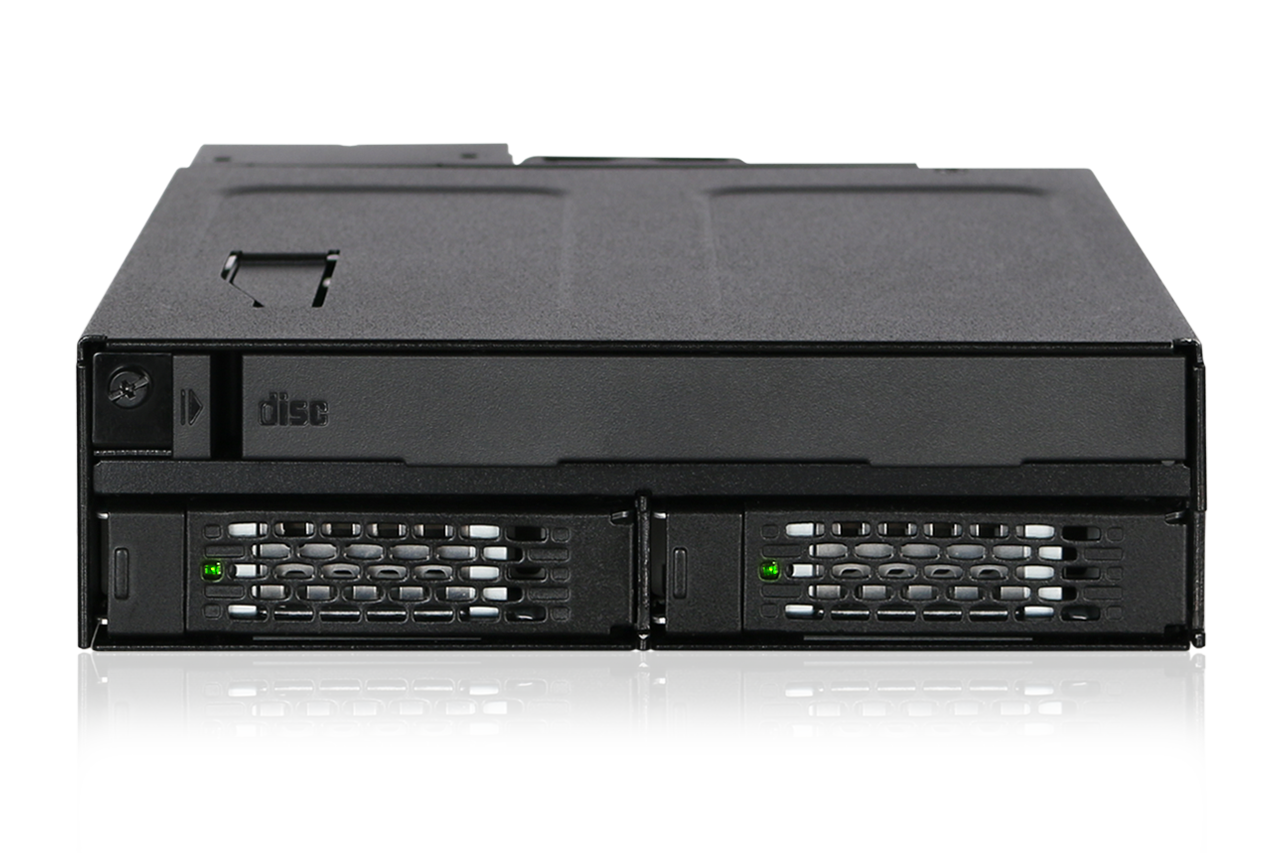
IStar BPN-DE350HD
This mod is based on iStarUSA BPN-DE350SS Mod by Tybio on the unraid forums, which in turn is based on IStar Hard Drive Cage Fan Replacement Mod by Henness. They describe the step by step process for replacing the cheap 80mm fans with better Noctua 80mm fans.
You will need:
- ☐ Screwdriver
- ☐ Flush cutters
- ☐ Drill with 7/64“ Drill bit
- ☐ Weather Striping
- ☐ 4x 6-32 x 1-1/4“ Screws / Nuts
- ☐ 80mm Replacement Fan (I’m using a Noctua NF-A8)

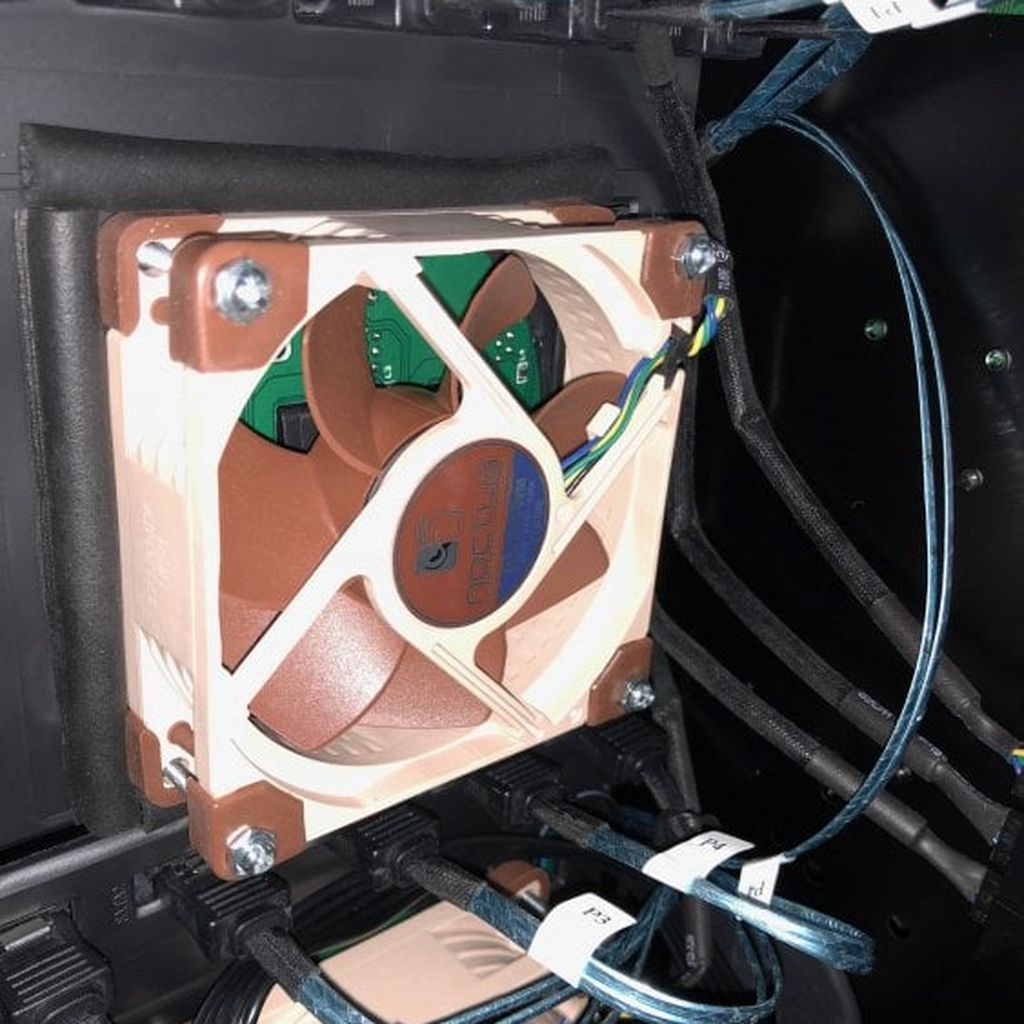
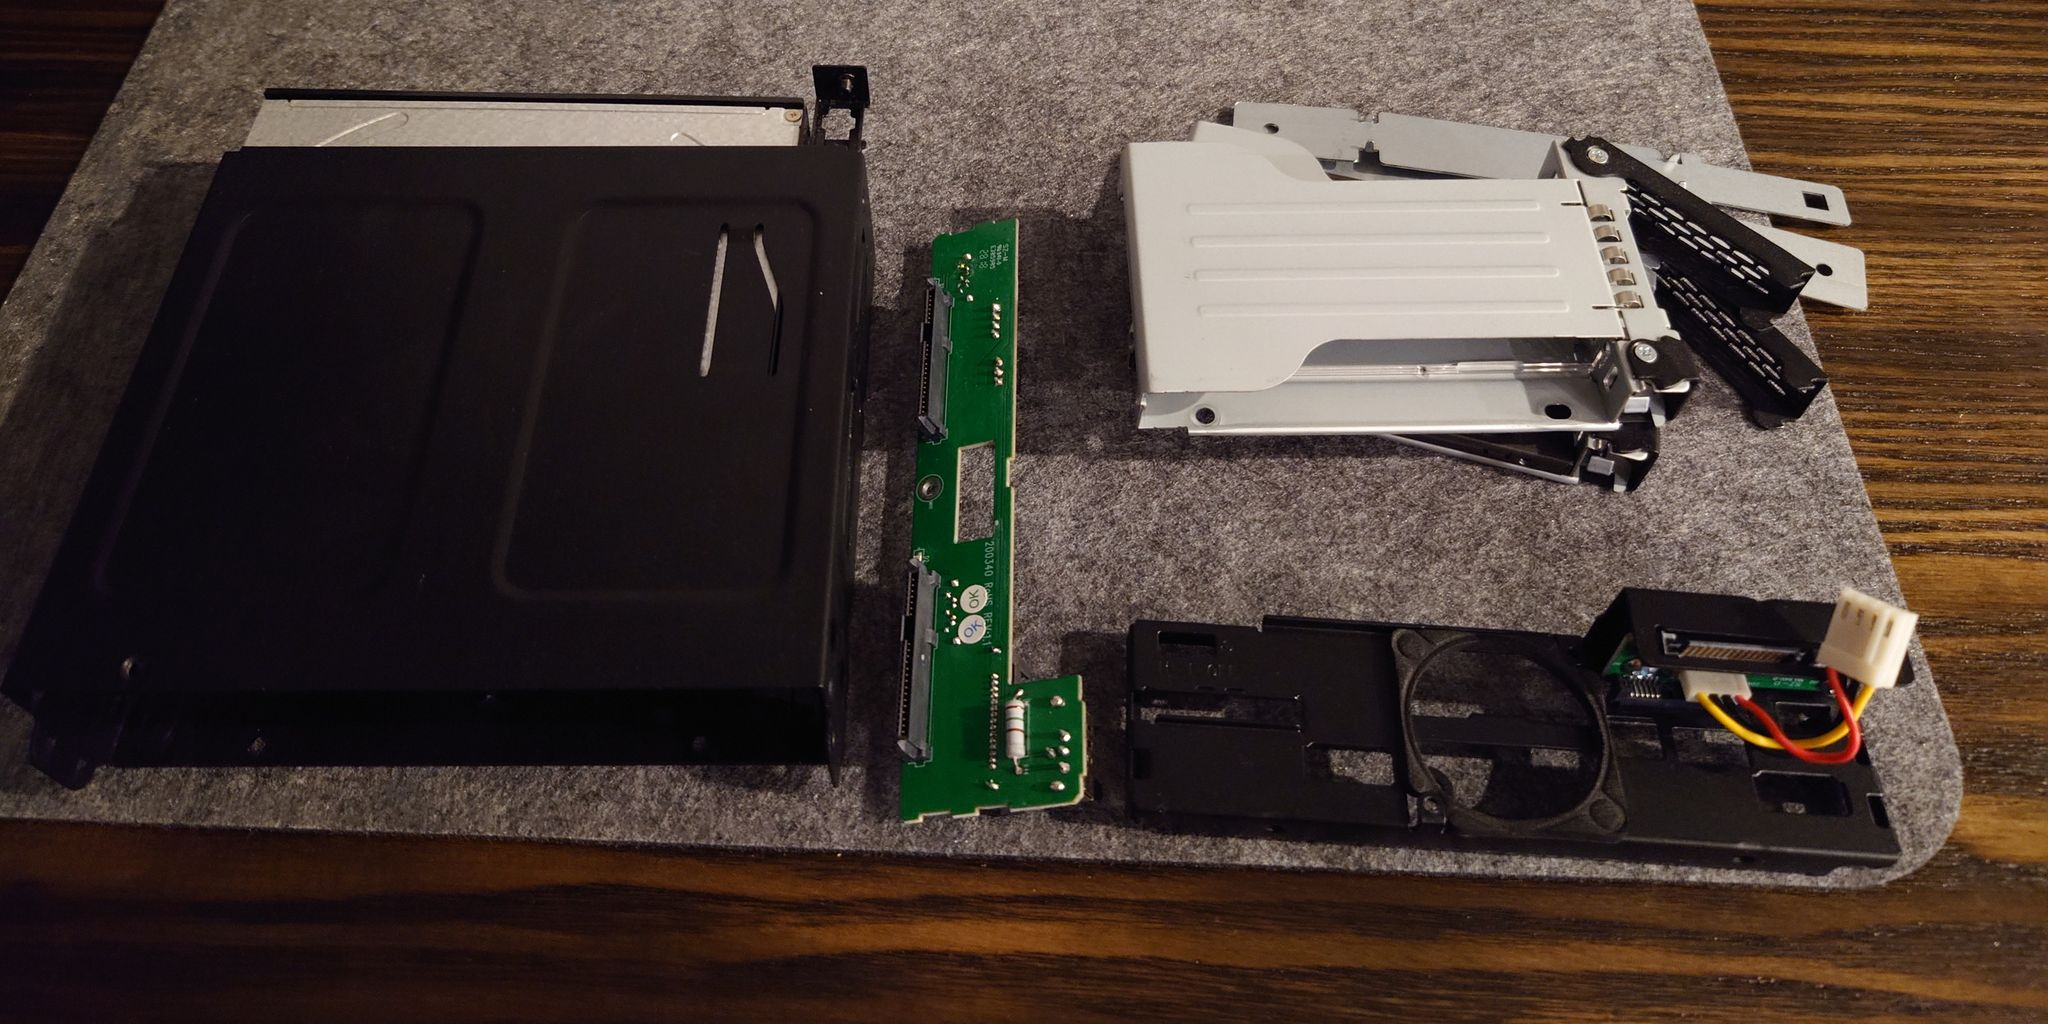
Step 1: Remove the Old Fan and Shroud
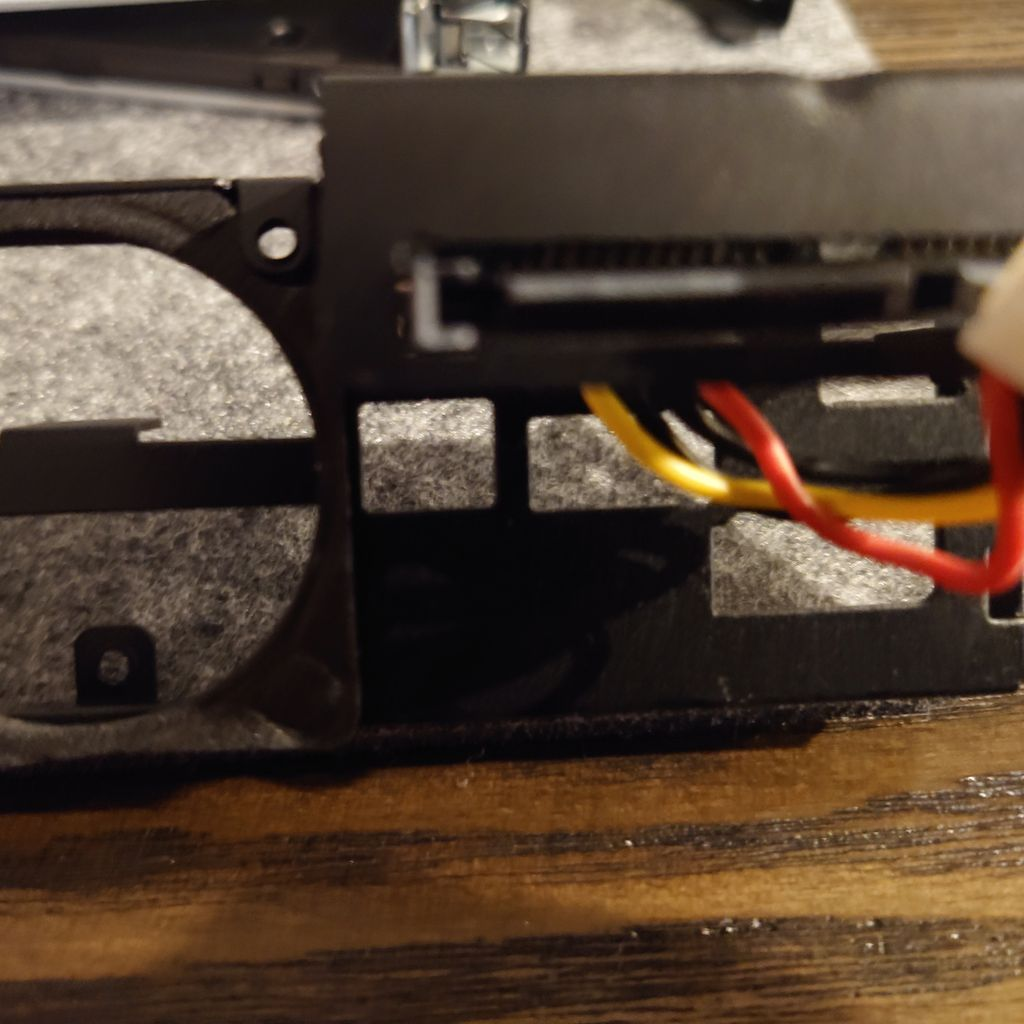
Remove the old fan and shroud by unscrewing the four screws on each corner and unplugging the 3-pin JST connector. You can discard the cheap fan and shroud as these are no longer needed.
Step 2: Drill Out the Fan Mounting Holes
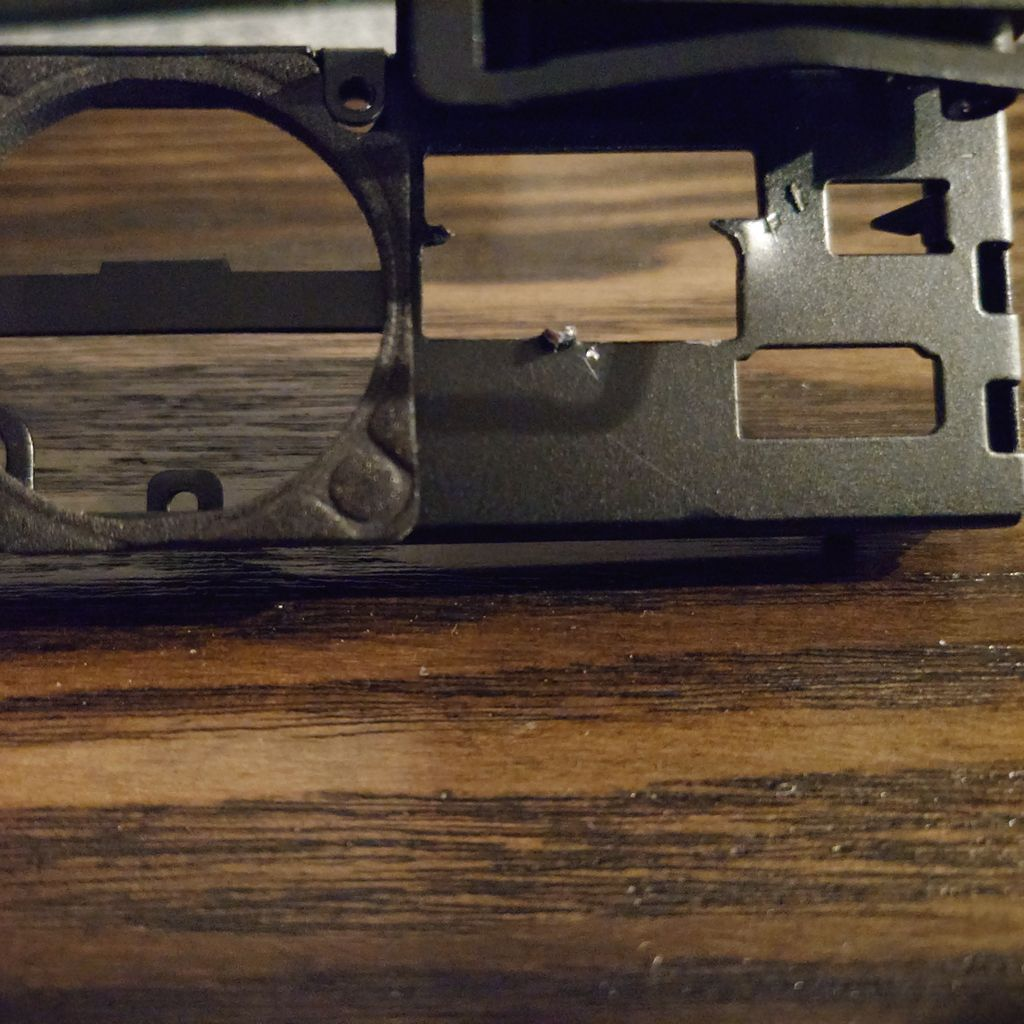
Cut the fan alignment dowels (tips of the mounting holes) off the four mounting holes using a pair of flush cutters. Using a 7/64“ drill bit, drill out the four mounting holes, to make them wider. Be careful not to hit the PCB on the other side with the drill bit.
Step 3: Cut and Attach the Weather Strips
Cut Weather stripping to form a “Box” around the fan stand-offs. Don’t worry about covering the 3-pin connection or the fan selector switch as you will not use either again.

Step 4: Screw Your New Fan On
Take four 6-32 x 1-1/4“ screws, and spin one nut up the length of each screw to act as a spacer. Then install the new fan. Take care not to strip the new plastic mounting holes (a screwdriver is recommended). Attach the new fan connector directly to one of your motherboard fan headers or a fan hub.
Norco SS-500
The Norco is significantly easier to work with, as the fan can just be replaced without any modifications.
You will need:
- ☐ Screwdriver
- ☐ 80mm Replacement Fan (I’m using a Noctua NF-A8)
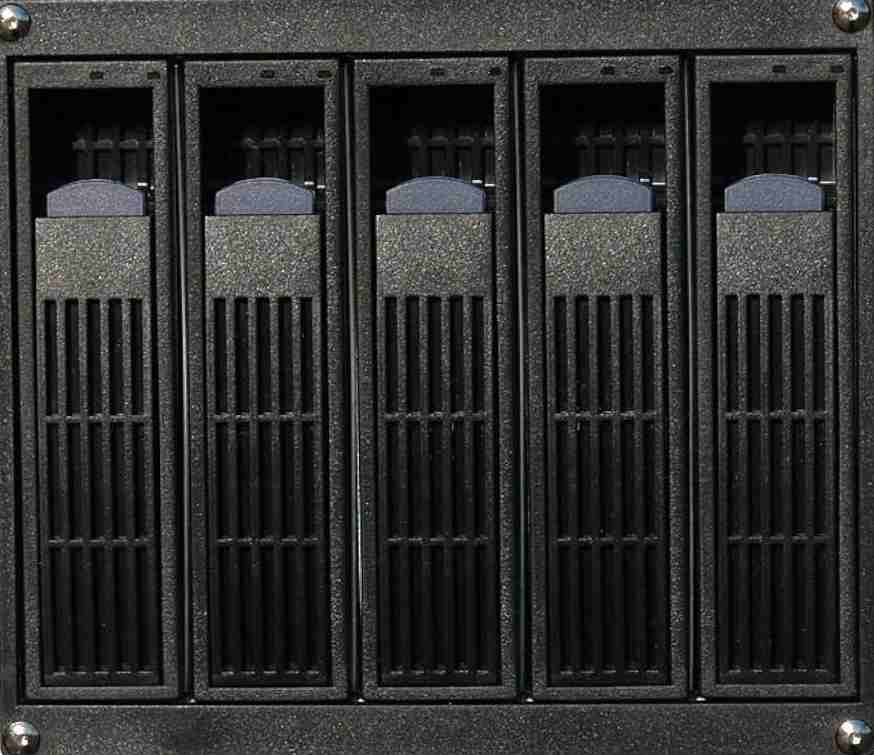
Step 1: Remove the Old Fan and Shroud
Remove the four screws on the back holding the fan shroud on. Then remove the four screws holding the old fan to the shroud. Discard the old fan, but keep the shroud, as we will reuse it.
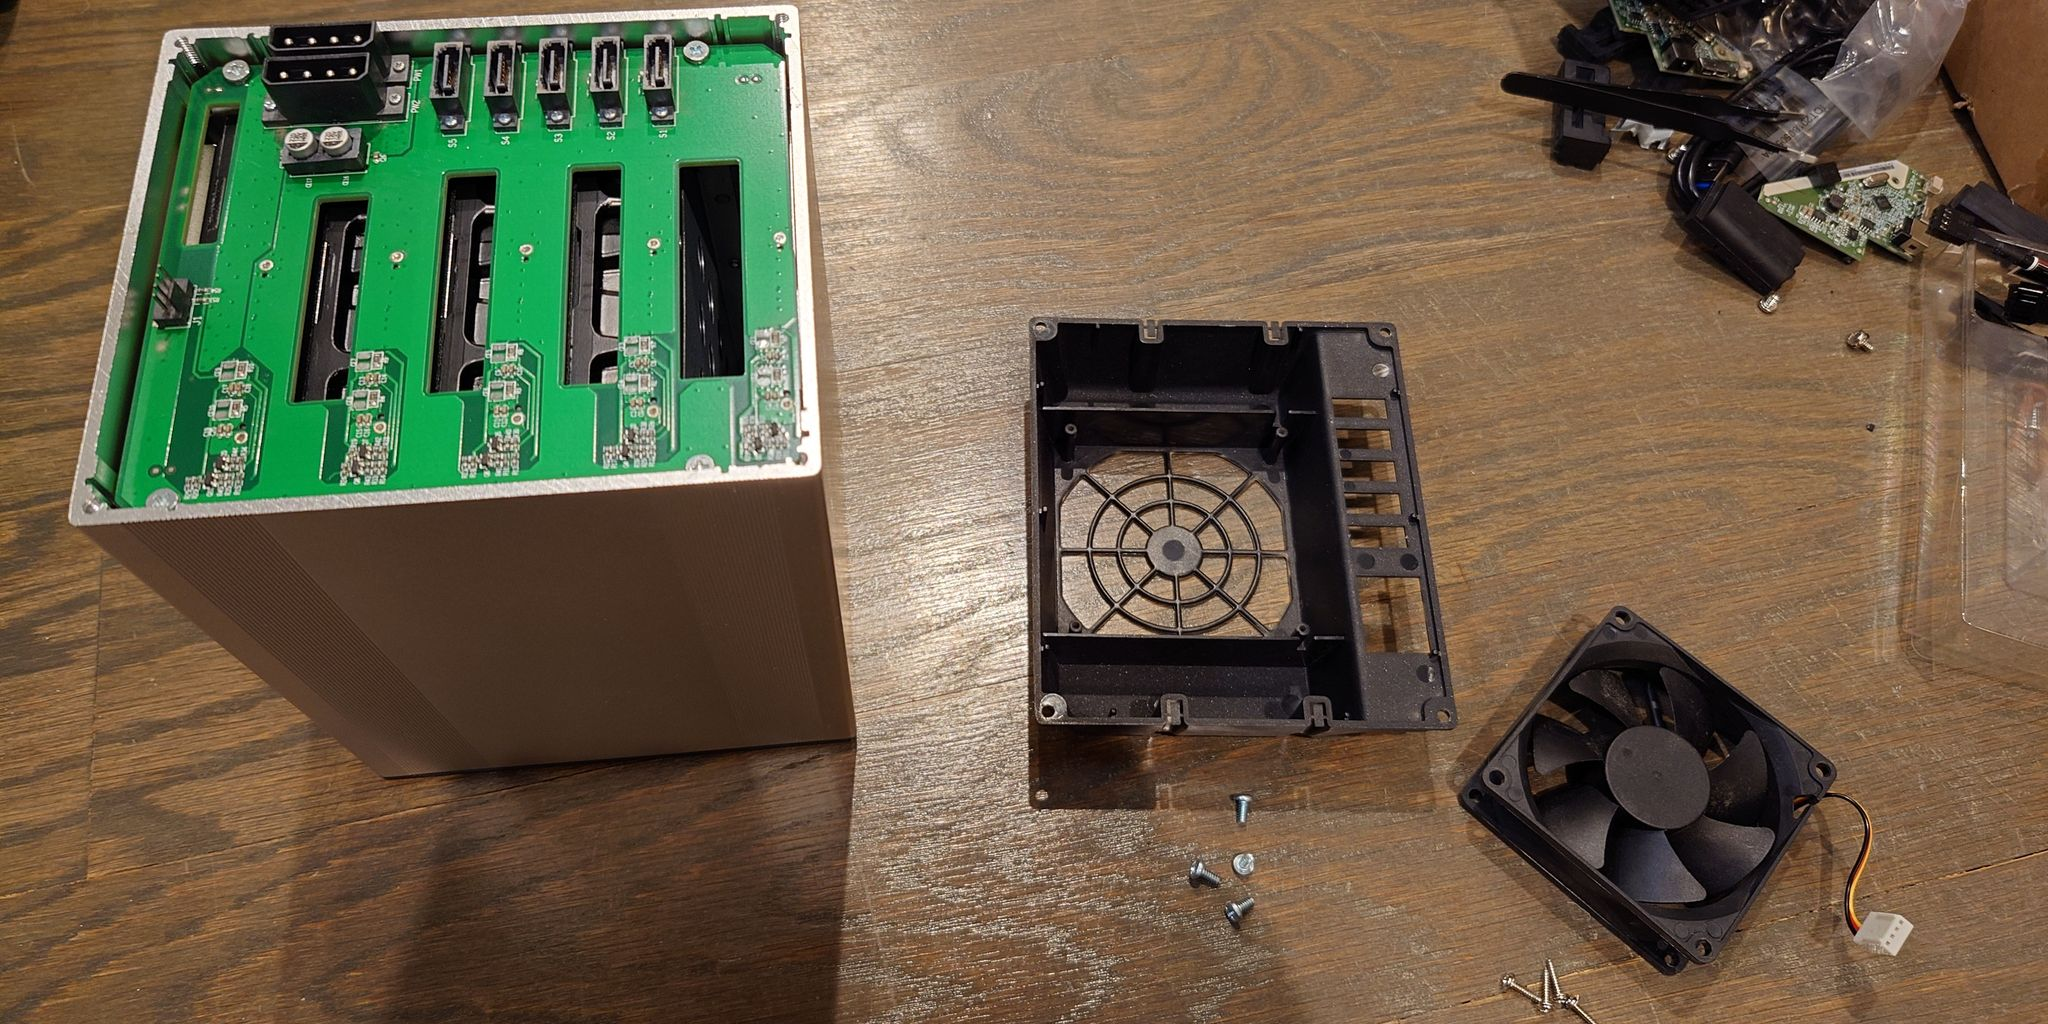
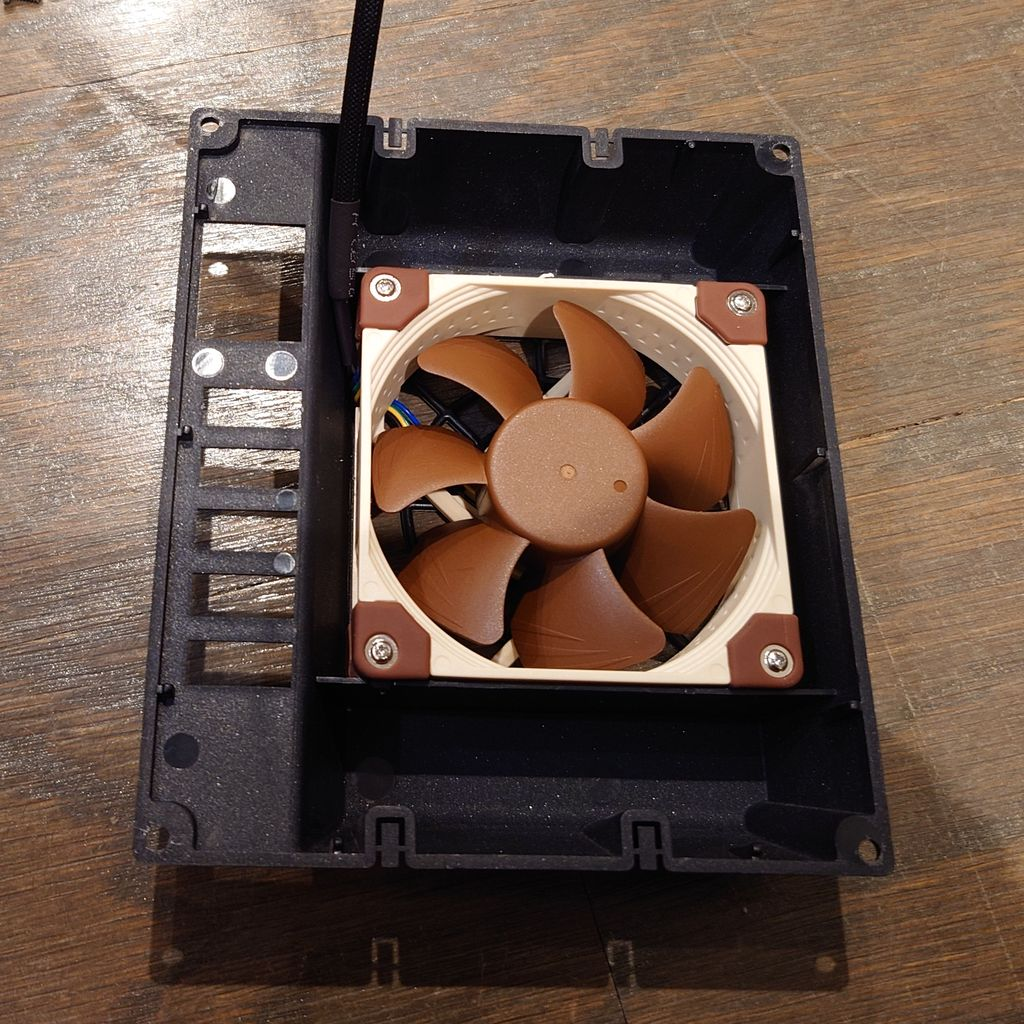
Step 2: Install the New Fan
Screw the new fan to the shroud, then connect the fan header to the 4-pin fan header on the back of the Norco. Reattach the shroud, and screw it back into place.

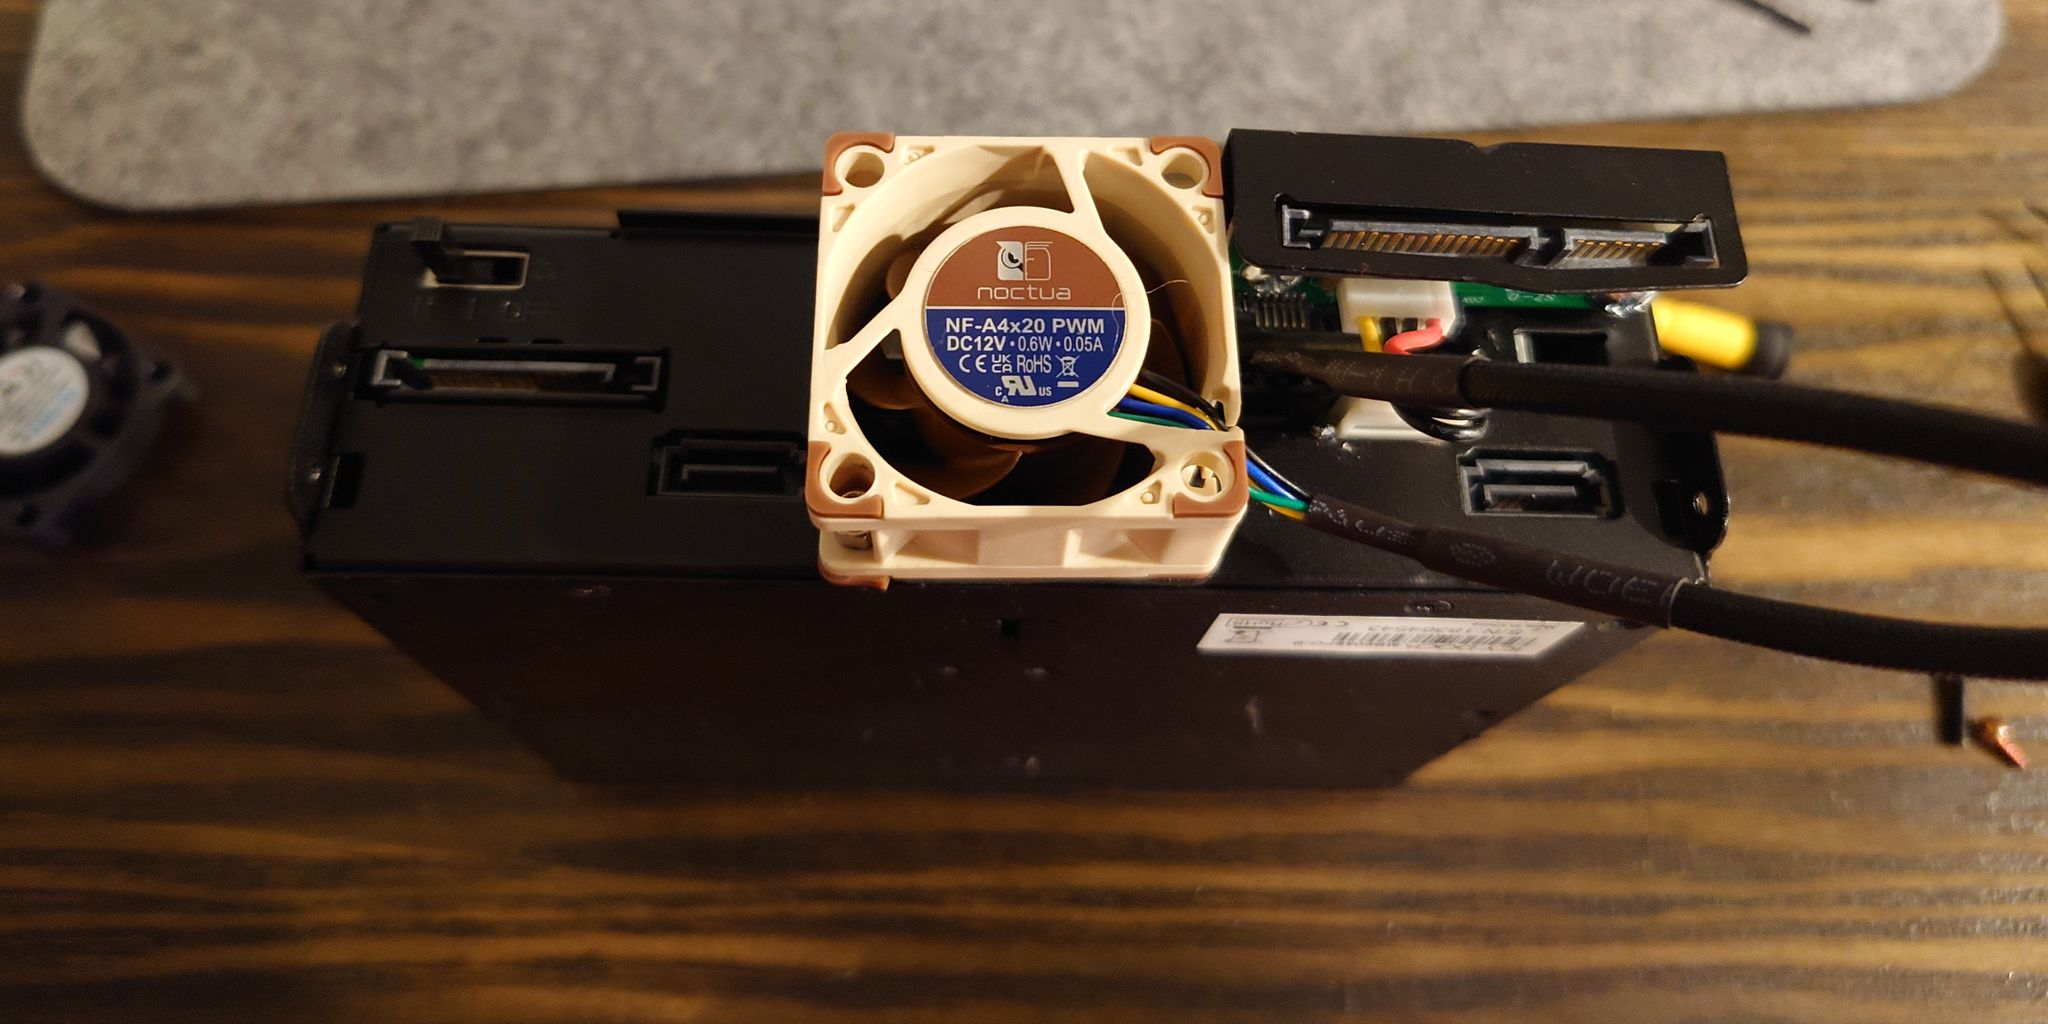
ICY DOCK MB602SPO-B
The ICY dock requires a small modification to the metal chassis to allow the 4-pin fan connector to fit
You will need:
- ☐ Screwdriver
- ☐ Pliers (alternately a tool to bend/cut metal)
- ☐ 40x20mm Replacement Fan (I’m using a Noctua NF-A4x20)
Step 1: Remove the Old Fan and Back Plate
Remove the two screws on the back holding the fan to the back plate. Then remove the screws holding the backplate on. Discard the old fan.
Step 2: Modify the Chassis (4-pin only)
To make room for a four pin connector the chassis must be cut. Remove the metal T shape around the connectors to the right of the fan. I bent and snapped them off with pliers, but you may have better tools.
Step 3: Install the New Fan
Reattach the back plate, then screw the new fan onto it with the two fan screws. Connect the fan header to the 4-pin fan header on the back of the ICY dock.
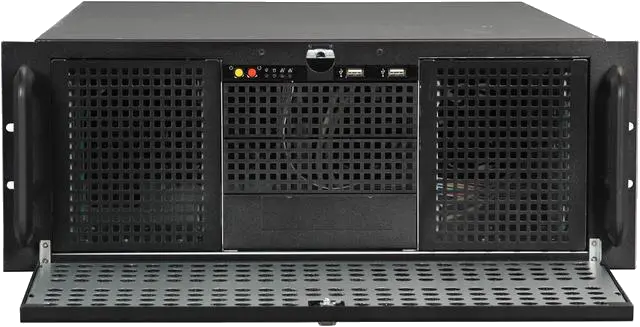
Norco RPC-470
The Norco RPC-470 is a 4U server chassis that contains a fan wall with three 120mm fans. Replacing them is simple, as the fan housing is designed to be hot swappable. This section is based on Norco Fan Wall Partition 6-pin header? by Helipil0t and The mysterious 6-pin fan header on my Inter-Tech server cases by Thomas Jensen.
You will need:
- ☐ 120mm Replacement Fan (I’m using a Noctua NF-A12x25)
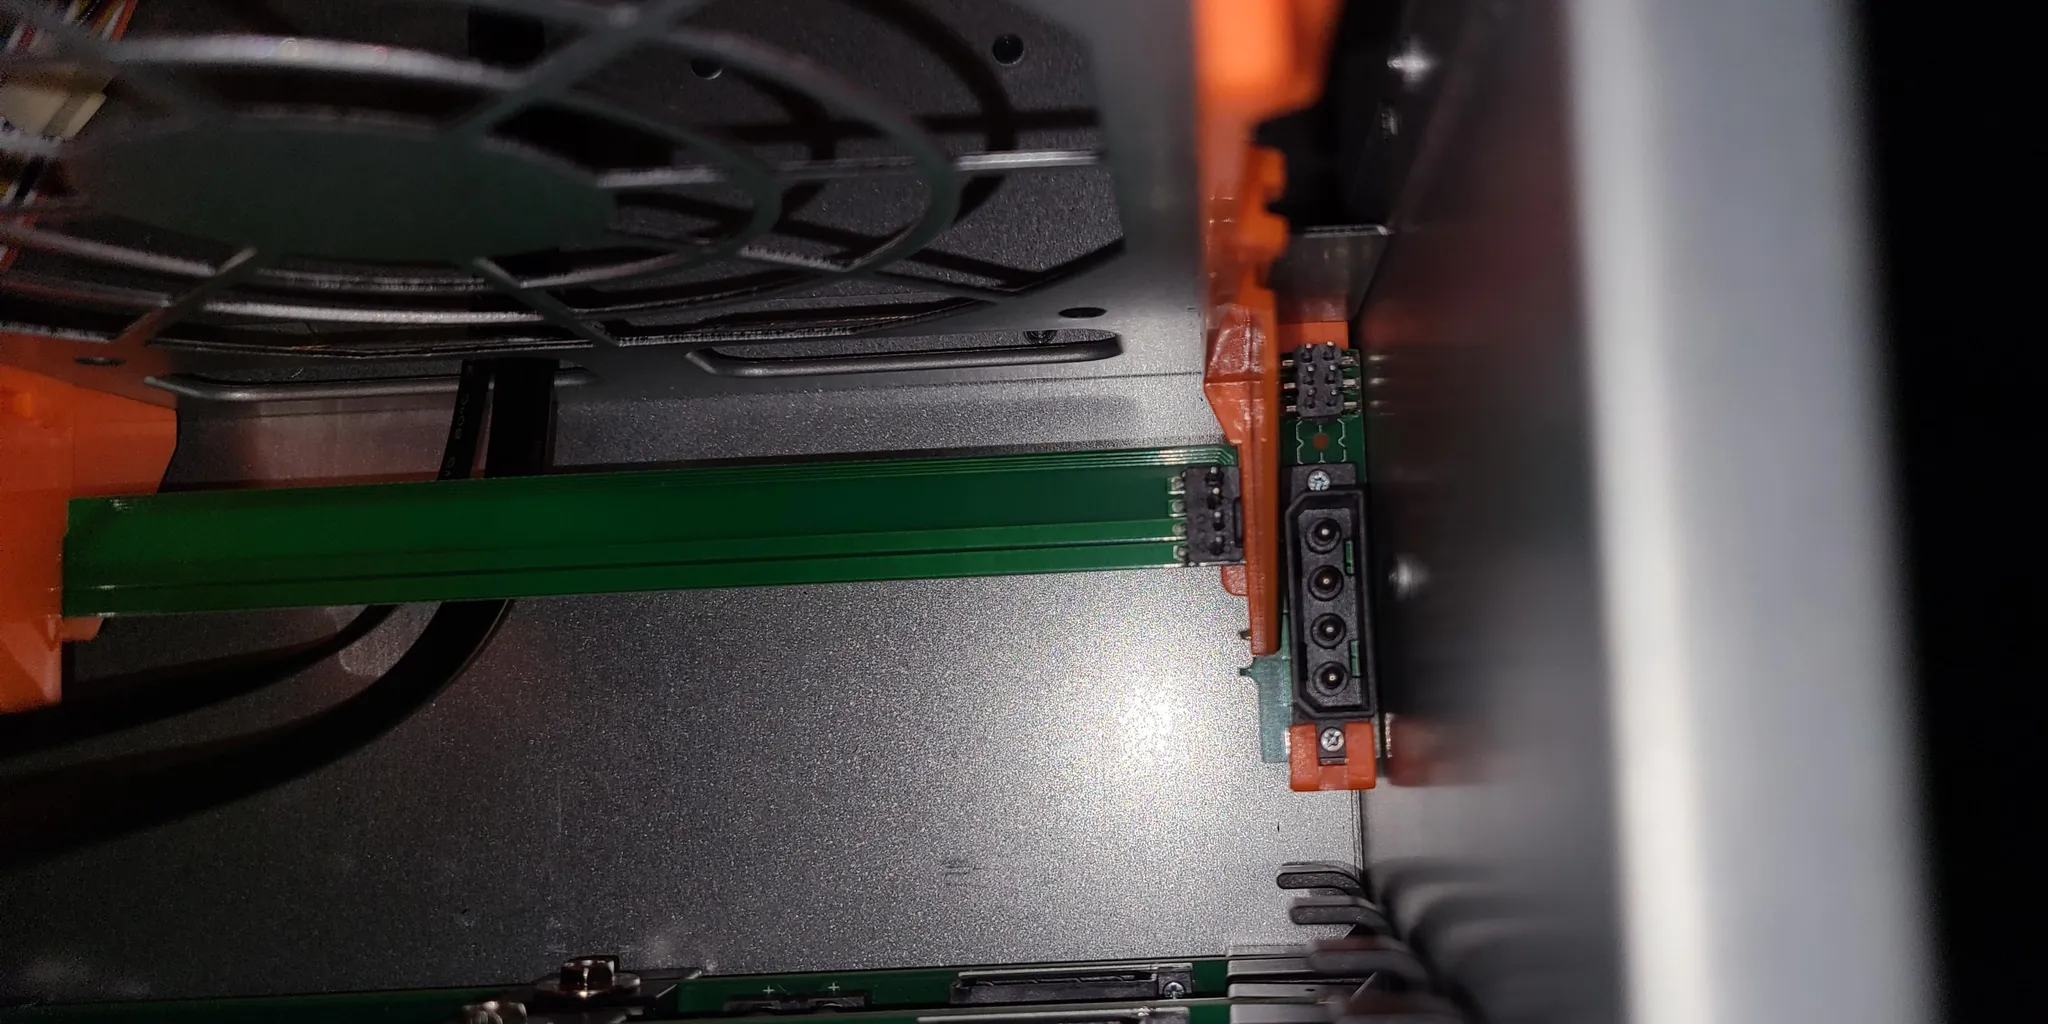
Step 1: Replace the Fans
Press the tab on the orange fan housing and remove it, disconnecting the fan connector as well. Replace the 120mm fans, reconnect it, and place it back in the fan wall.
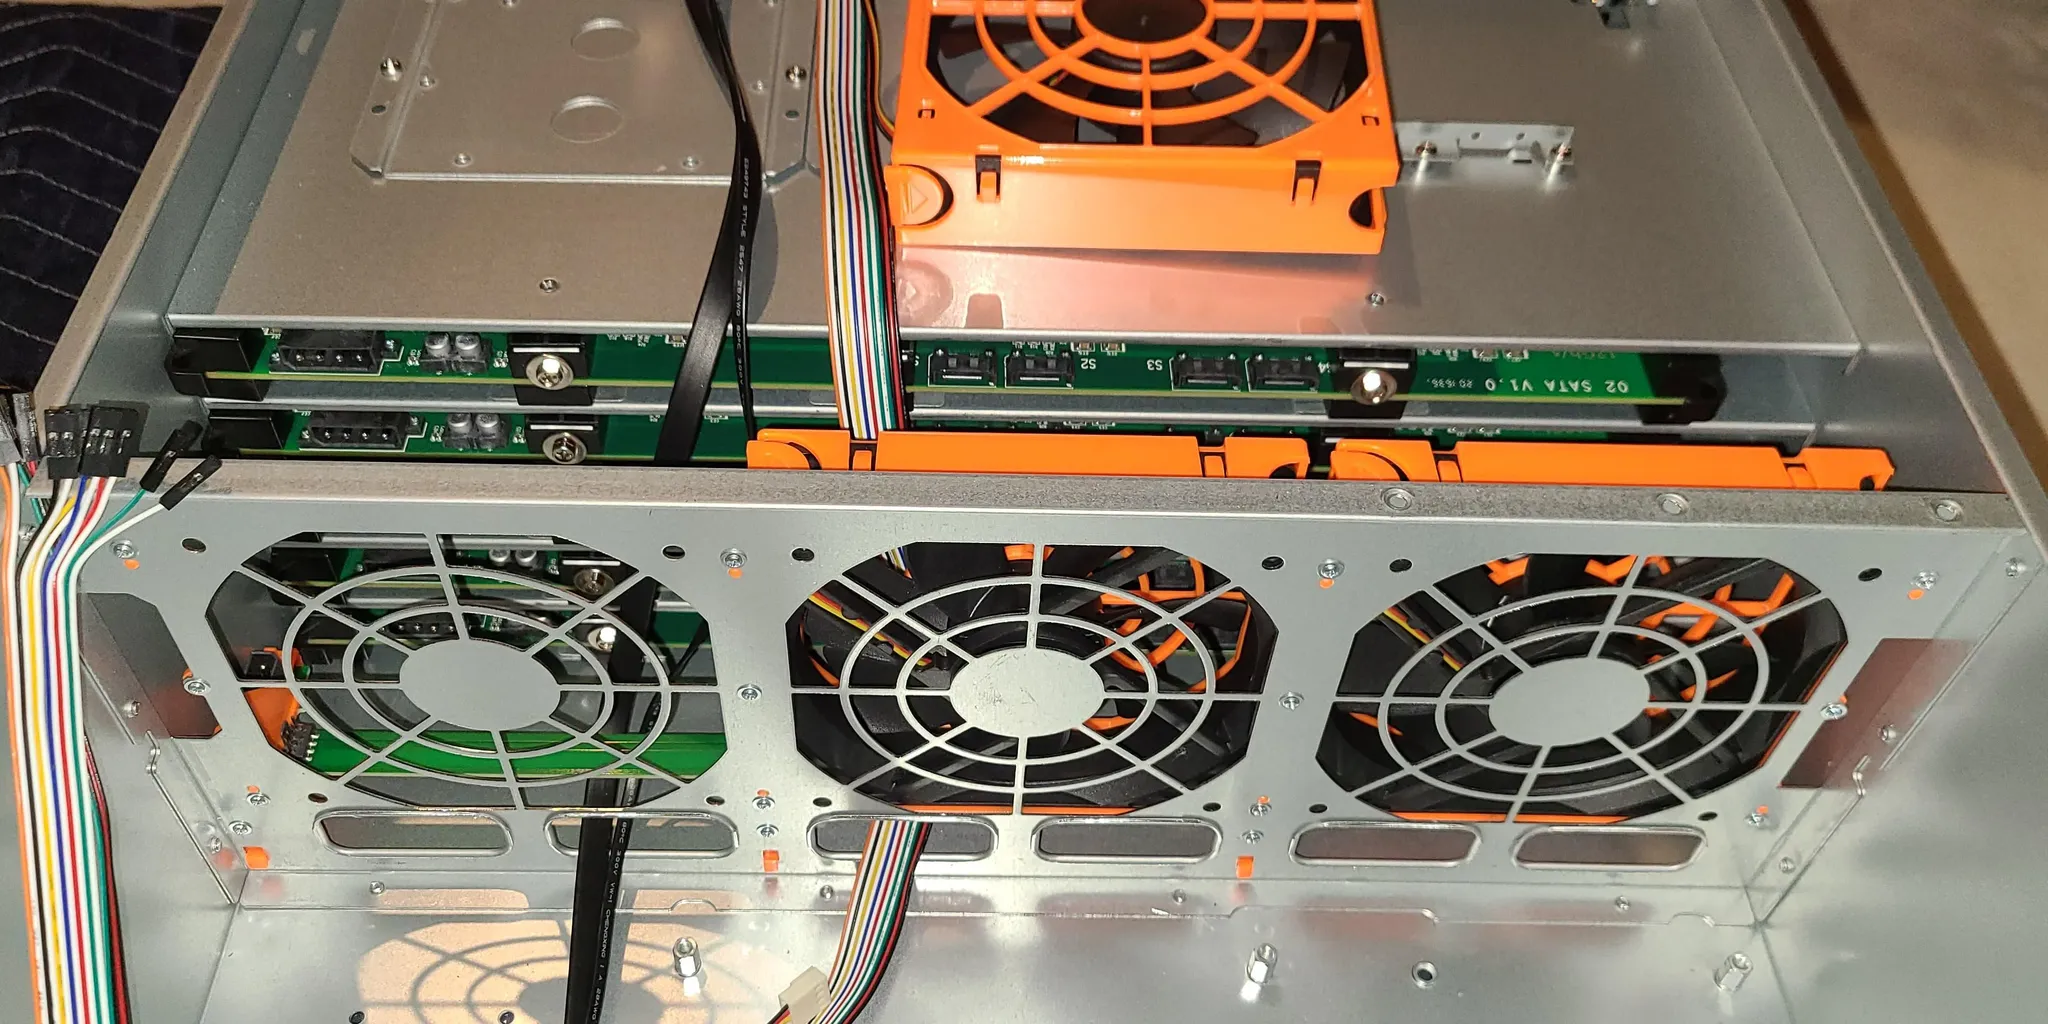
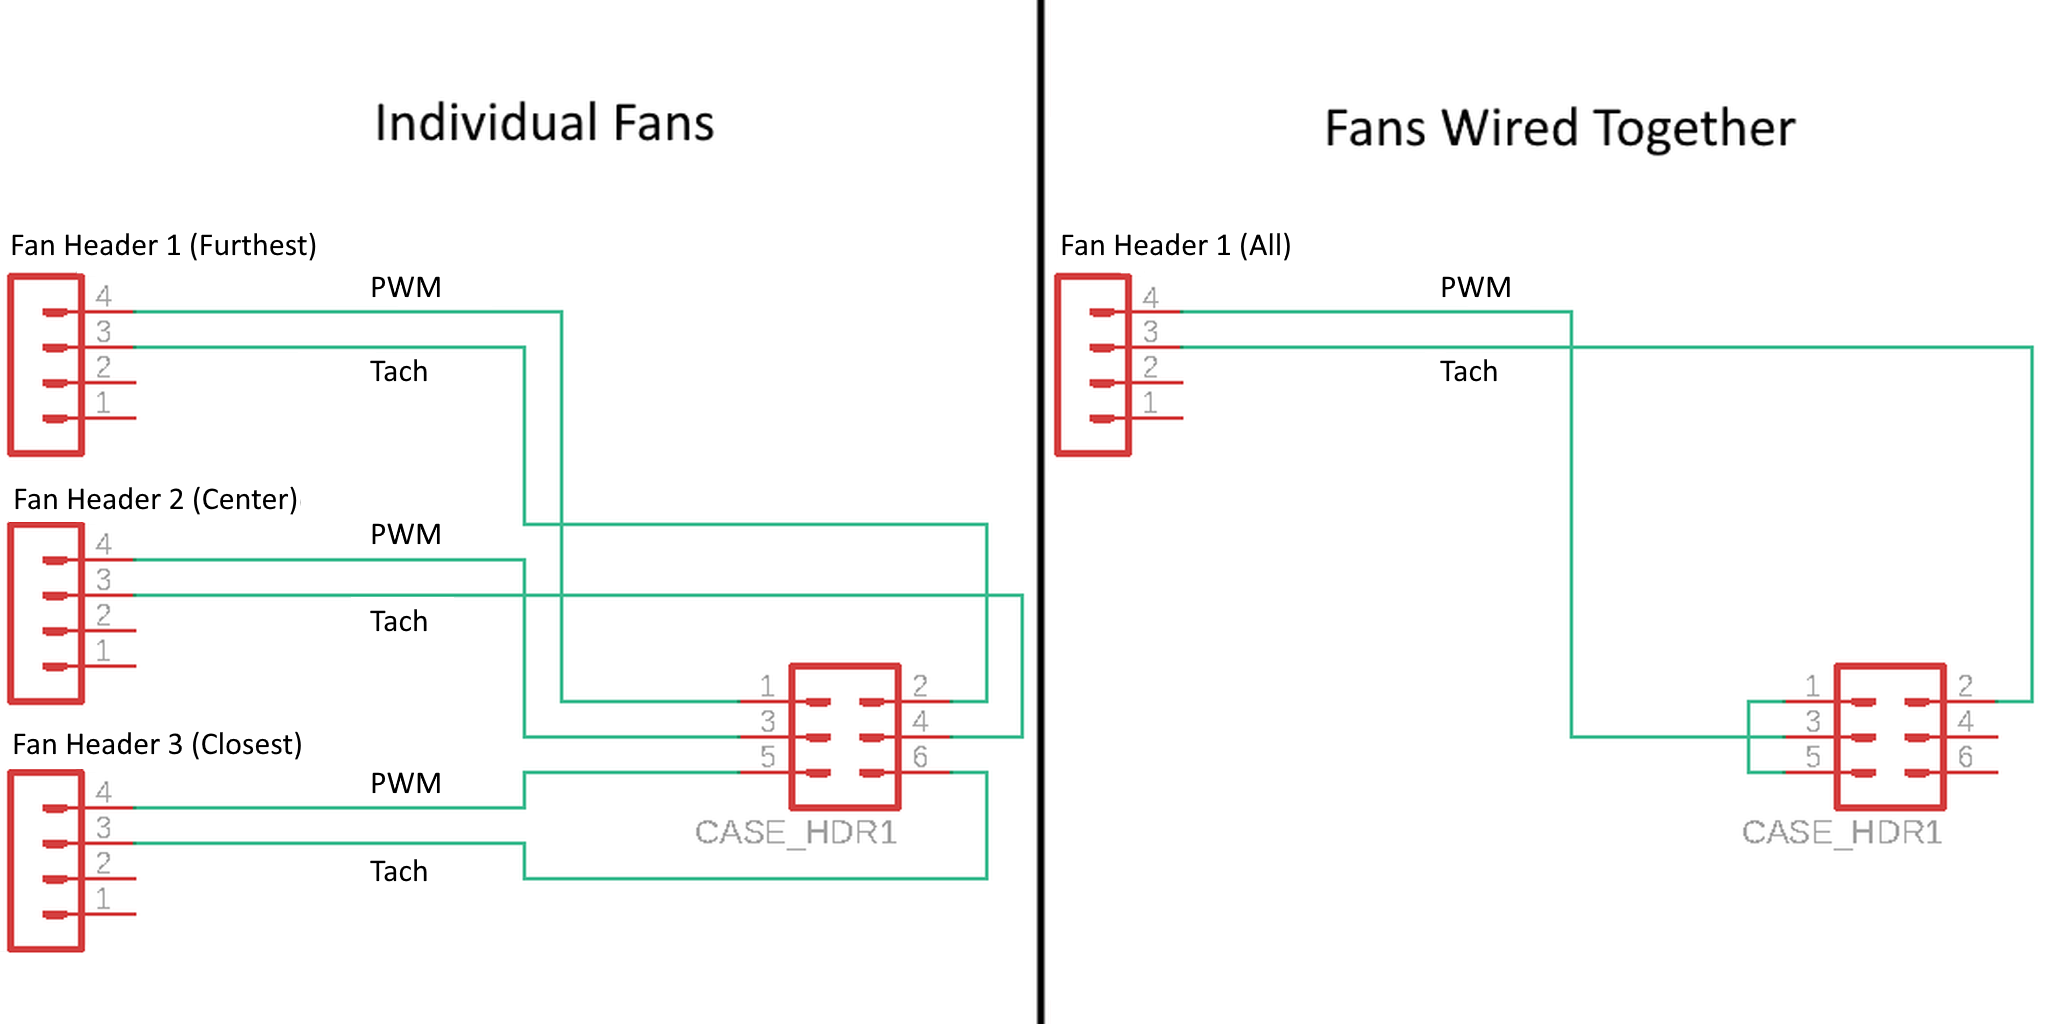
Step 2: Connect the Fans
Normally the fan wall runs at 100% speed, but you can control it by using the 6-pin header. The pinout is listed below, along with a schematic showing how to connect your fans (either independently, taking up three headers, or combined, taking up one header). These headers can either be connected directly to your motherboard, or to a fan hub.